A Beginner's Guide to Your First Magic Mushroom Grow Kit Harvest
 Alright, so you got yourself a magic mushroom grow kit from Avalon Magic Plants. You followed the setup steps, watched that cool white mycelium spread, and now – awesome! – you're seeing little mushroom pins popping up. The big moment is getting close: your first harvest. Feels pretty great, right?
But maybe you're wondering, "When are they really ready?" and "How do I actually harvest these things without messing up future grows?" No sweat, we've got you covered. This guide will give you the lowdown on harvesting your first batch, focusing just on the practical growing stuff. Remember, the name of the game here is patience and, seriously, cleanliness.
First Things First: Getting Ready for a Clean Harvest
Before you get hands-on, let's talk prep. Contamination is the enemy of mushroom growing – sneaky bacteria or moulds can crash the party. Getting this part right gives you the best shot at multiple harvests (flushes). Think clean room, not messy kitchen.
Here’s your harvest day toolkit from our Growing Aids section:
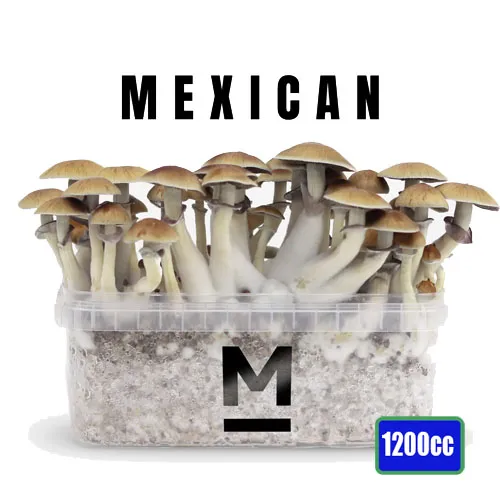
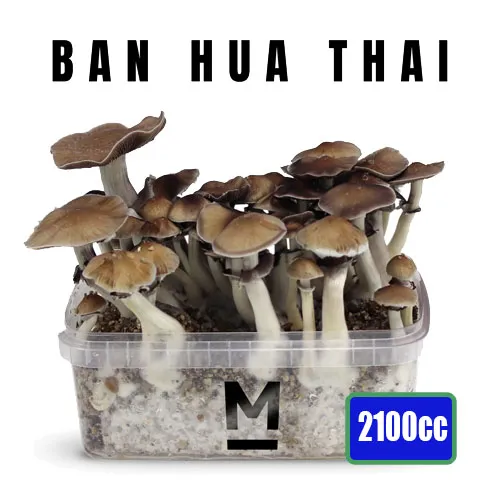
- Your Grow Kit: Looking prime with mushrooms almost ready. Could be a Medium kit (like the ever-popular Golden Teacher or reliable B+), a beefy XL kit, or a handy Mini kit.
- Sterile Gloves: Seriously essential. Don't skip these.
- Face Mask: Keeps your breath germs off the kit.
- Alcohol Wipes or Spray: For zapping germs on tools and gloved hands.
- Harvesting Tool: A sharp sterile scalpel or a clean, small knife. Wipe that blade with alcohol just before you start cutting.
- Clean Surface: Wipe down a table or tray.
- Drying Area: Have a spot ready to put the mushrooms immediately after picking.
- Spray Bottle (for later): Just clean tap water inside.
Wipe down your work surface. Wash your hands and arms like you're prepping for surgery, then get those gloves on. Give the gloves a quick wipe with alcohol too. Can't be too careful!
When to Pick: Watching the Veil
Timing the harvest is maybe the trickiest part for beginners. Too early is better than too late. If you harvest too late, the mushrooms drop their spores (that dark dusty stuff). It's not the end of the world, but it can make the surface look messy and might slow down the next flush. The secret is watching the veil.
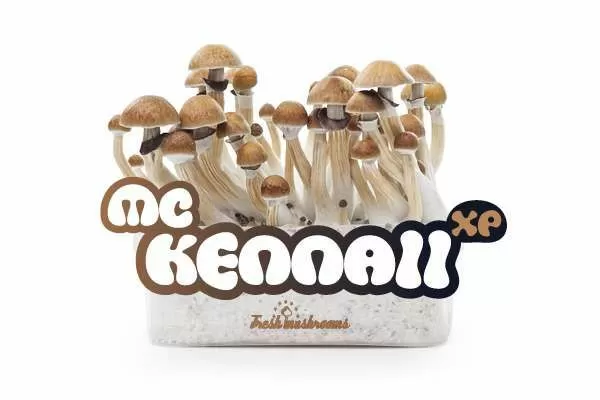 Look under the caps of the bigger mushrooms. See that thin skin stretching from the cap edge to the stem? That's the veil. It protects the gills.
- Go Time: The veil looks thin, stretched, and is just starting to tear. Maybe you see a tiny rip. This is perfect. Pick 'em now!
- A Bit Late (No Biggie): The veil is totally torn and hanging off the stem. Maybe some dark dust (spores) is visible below. Harvest immediately. Still good!
- Hold Up: Veil is thick, tight, and looks solid. Cap might still be pointy. Let it grow a bit longer. Check again in a few hours – they can grow fast!
Pro Tip: They won't all be ready at the exact same time. It's usually best to harvest the whole kit when the first few veils break. This stops spores from dropping everywhere and means you only handle the kit once per flush, reducing contamination risk. Get everything out – even the tiny ones that stopped growing (called aborts). Aborts will just rot if left.
The Harvest: How to Do It Right
Okay, deep breath, sterile environment, let's do this. Be gentle!
Carefully lift the grow kit out of the grow bag and put it on your clean surface. Try not to touch the white mycelium block.
Two main ways to harvest:
- Twist and Pull:
- Get a gentle but firm grip on the very bottom of the stem with your gloved fingers.
- Twist slightly while pulling upwards.
- The mushroom should pop off cleanly. Avoid yanking up big chunks of the white stuff (substrate).
- Why do it? Less stem left behind to potentially cause issues.
- The Cut:
- Use your alcohol-wiped scalpel or knife.
- Slice the stem as absolutely close to the surface as you can.
- Why do it? Less disturbance to the surface where the next mushrooms will grow.
Honestly, both work. Twist-and-pull is often recommended, but if it feels like you're ripping the kit apart, cutting is fine. The key is sterility and getting all the mushrooms off, even the tiny ones.
Round Two (and Three, and Four?): Getting More Flushes
Good news! Your kit probably has more mushrooms in it. To get the next batch (flush) going, you need to give the mycelium some water. How you do this depends on your kit type – seriously, check the instructions that came with your specific kit! But here’s the general idea:
- Most Standard Kits (like the Avalon Medium / XL Kits): Usually need a soak (often called 'dunking').
- After harvesting, gently fill the kit box with cold tap water.
- Put the lid back on.
- Stick it in the fridge for about 12 hours.
- Take it out, drain off every last drop of water from a corner. Let it sit for a few minutes to make sure it's drained.
- Put the kit back in the grow bag. Maybe give the inside walls of the bag a little spray of water.
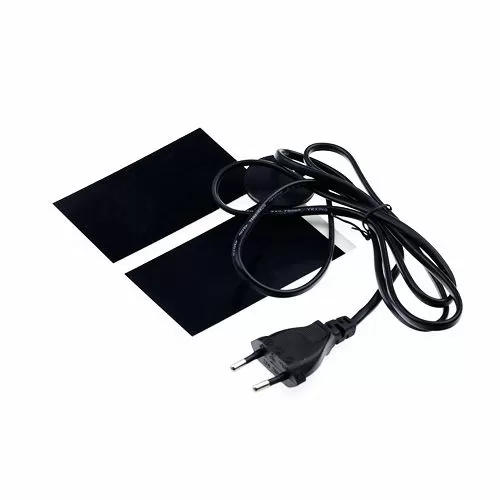
- Back to its spot (indirect light, nice warm temp – a heating mat can really help here if your room is cool).
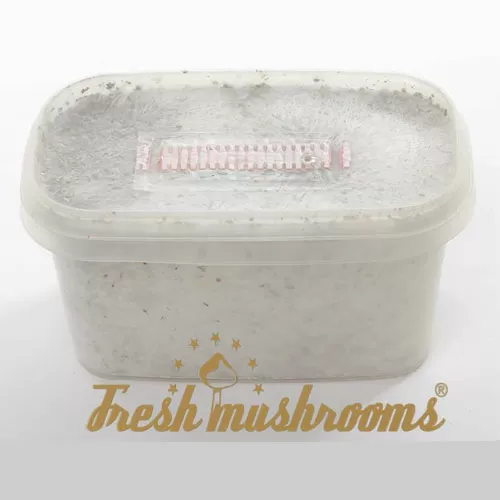
- FreshMushrooms Kits: These guys are often different – they usually **DO NOT need soaking**.
- Just harvest cleanly.
- Put the kit back in the bag.
- Keep spraying the inside of the bag with water every day or so to keep humidity high.
- Keep giving it fresh air and the right temp.
Again, read your kit's specific instructions. Then, be patient. The next flush could take 1-3 weeks.
After the Pick: Drying and Storing
Fresh mushrooms are mostly water and won't keep. You need to dry them out completely to store them.
Quick drying methods:
- Fan Drying: Spread them out on a rack or paper towel (not touching) with a fan blowing nearby for 1-3 days.
- Food Dehydrator: Fastest way. Use a low setting (like 40-50°C) until totally dry.
- Desiccant: Put mushrooms in a sealed container with something that absorbs moisture (like food-safe silica gel), making sure they don't touch the desiccant. Takes a few days.
How dry is dry enough? They should snap like a dry cracker. If they bend, they need more time. Once cracker dry, chuck them in an airtight jar with a food-safe desiccant packet and store it somewhere cool, dark, and dry.
Wrapping Up: Enjoy the Grow!

Pulling off your first mushroom harvest feels awesome! It's proof your patience and careful work paid off. By keeping things super clean, picking at the right time (watch that veil!), being gentle, and setting up right for the next flush, you're doing everything right.
Growing mushrooms is a cool way to see nature do its thing up close. Check out all the different strains in the Avalon Shroomshop, grab any Growing Aids you might need, and just enjoy watching them grow.
Have fun, and hope you get plenty more mushrooms!

.webp)
